 Growing Garlic - October 3, 2018 Jeff Schalau, Agent, Agriculture & Natural Resources University of Arizona Cooperative Extension, Yavapai County Garlic is a hardy perennial and has been used as a culinary and medicinal herb since the time of the Egyptian pharaohs. Garlic is thought to be a native of Central Asia but has long been naturalized in Southern Europe. Garlic has flat leaves rather than the round hollow leaves of the onion and produces many small bulbs (cloves) rather than one large bulb. Garlic can be divided into two general categories: those that send up a seed stalk (hardneck varieties) and those that don't (softneck varieties). Softneck varieties will sometimes send up a seed stalk if stressed for water. Softneck types have been cultivated over a longer time period, are suited to a variety of climates, and hold up better in storage due to their tighter skins. The seed stalk of hardneck types is called a scape (filled with many tiny bulbs called “bulbils”). Hardneck varieties are best suited to cooler climates and have larger cloves which are easier to peel. The best varieties for you depend on personal taste and gardening experience. Try a couple of different varieties each year until you find those which best suit your taste and gardening style. For hardneck varieties try Rocambole, Continental, Spanish Roja, Carpathian, or German Red. These all produce large, easy to peel cloves and tend to be on the hot and spicy side. Some good softneck varieties are Inchelium Red, California Early, Artichoke, Chet's Italian, Mild French, and Silverskin. These are milder, produce smaller cloves, and are most desirable for braiding. Garlic grows best in a rich, deep, sandy loam to clay loam soil with a pH between 6.0 and 8.0. As with most vegetable crops, adequate levels of nitrogen and phosphorus are critical for good production. Add 1/4 to 1/3 of a pound of actual nitrogen (about two pounds of 10-10-10 fertilizer or equivalent amount of organic fertilizer) per 100 square feet. If using compost, you will need to estimate the amount of compost that will provide this amount of nitrogen (3-4 inches of well-rotted compost incorporated into the planting area). Alfalfa cubes can also be used (as described in March 29, 2017 Backyard Gardener). Additional applications of nitrogen should also be made in spring. Phosphorus fertilizer placed in the root zone assures availability. I always “band” phosphorus during soil preparation. I do this by amending the soil with compost, then digging away a layer of amended soil and placing the desired quantity of phosphorus fertilizer about 4-6 inches below the seedbed or transplant. Add 1/5 to 1/4 lb of actual phosphate (P2O5) per 100 square feet of garden space. A liberal application of bone meal or rock phosphate could be banded to ensure adequate supplies. I band 1/2 to 3/4 pound of triple super phosphate (0-45-0) per 40 feet of row. Garlic should be planted in September or October. Select clean, dry bulbs, break them into individual cloves and plant the same day as divided. Plant 2 to 3 inches deep and 6 inches apart. Rows should be 12 to 18 inches apart. Irrigate immediately after planting. Garlic cloves require 4 to 6 weeks of cool weather (less than 40 degrees F) after planting to vernalize the plant to induce bulb production. During fall and winter, the bulb will produce roots and some top growth. After the weather warms up in spring, long, strap-like leaves will develop. Keep plants well-watered through spring and early summer. As stated above, hardneck garlic will produce scapes in late spring. The scapes should be removed to encourage larger bulb formation. The removed tops can be used in stir fries or other recipes that call for onion/garlic flavoring. In June to early July, leaves will turn brown and top will begin to collapse. Irrigation should be stopped at this time to prevent rotting. To harvest, wait until top growth has dried significantly. Carefully loosen soil with a spading fork so that bulbs can be gently removed from soil. Home gardeners usually dry garlic in a shed of other dry location out of direct sun. The garlic can be braided or simply trimmed and stored for later use. You can set aside the best of the harvest for next year’s crop. See photos and additional information below. Follow the Backyard Gardener on Twitter – use the link on the BYG website. If you have other gardening questions, call the Master Gardener help line in the Camp Verde office at 928-554-8992 or e-mail us at verdevalleymg@gmail.com and be sure to include your name, address and phone number. Find past Backyard Gardener columns or provide feedback at the Backyard Gardener web site: http://cals.arizona.edu/yavapai/anr/hort/byg/. Photos/Video 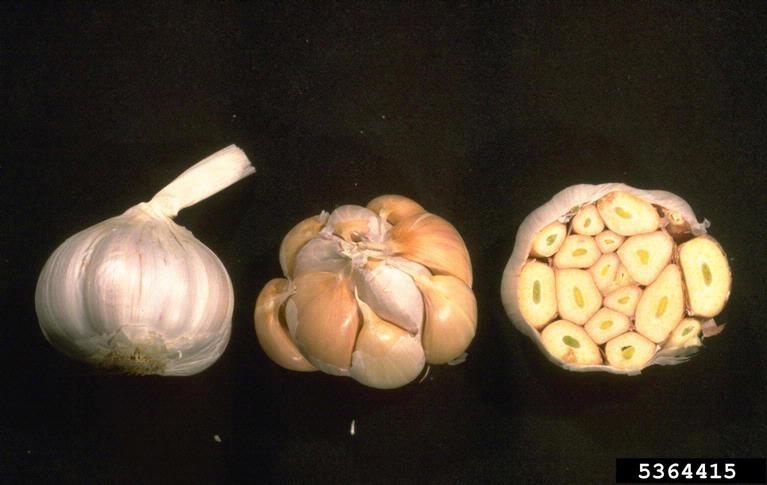 Softneck garlic showing smaller cloves without a prominent central stem (Howard F. Schwartz, Colorado State University, Bugwood.org).
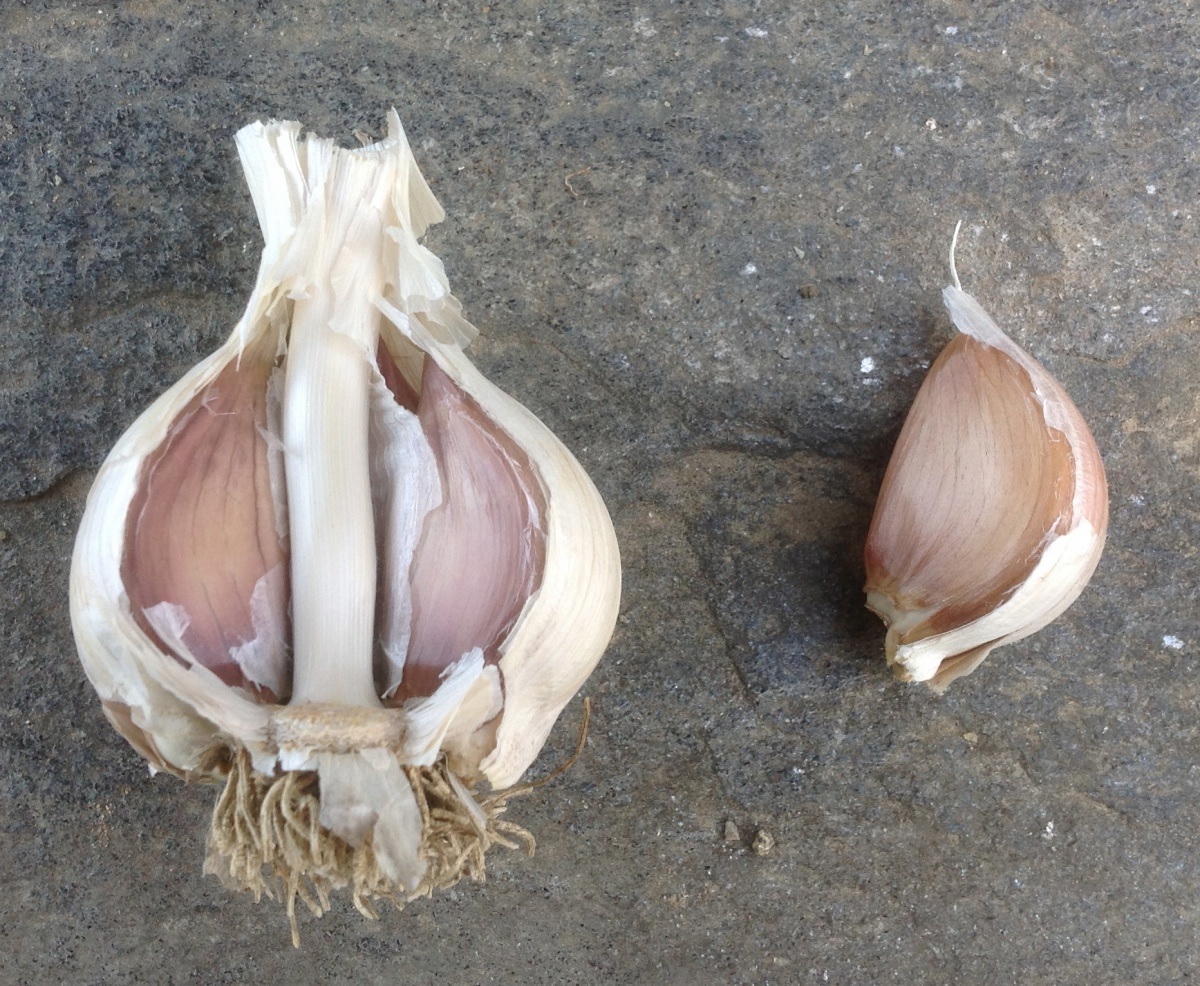 Hardneck garlic showing larger cloves and a prominent central stem (from: Growing Garlic in New Hampshire, https://extension.unh.edu/resource/growing-garlic-new-hampshire-fact-sheet).
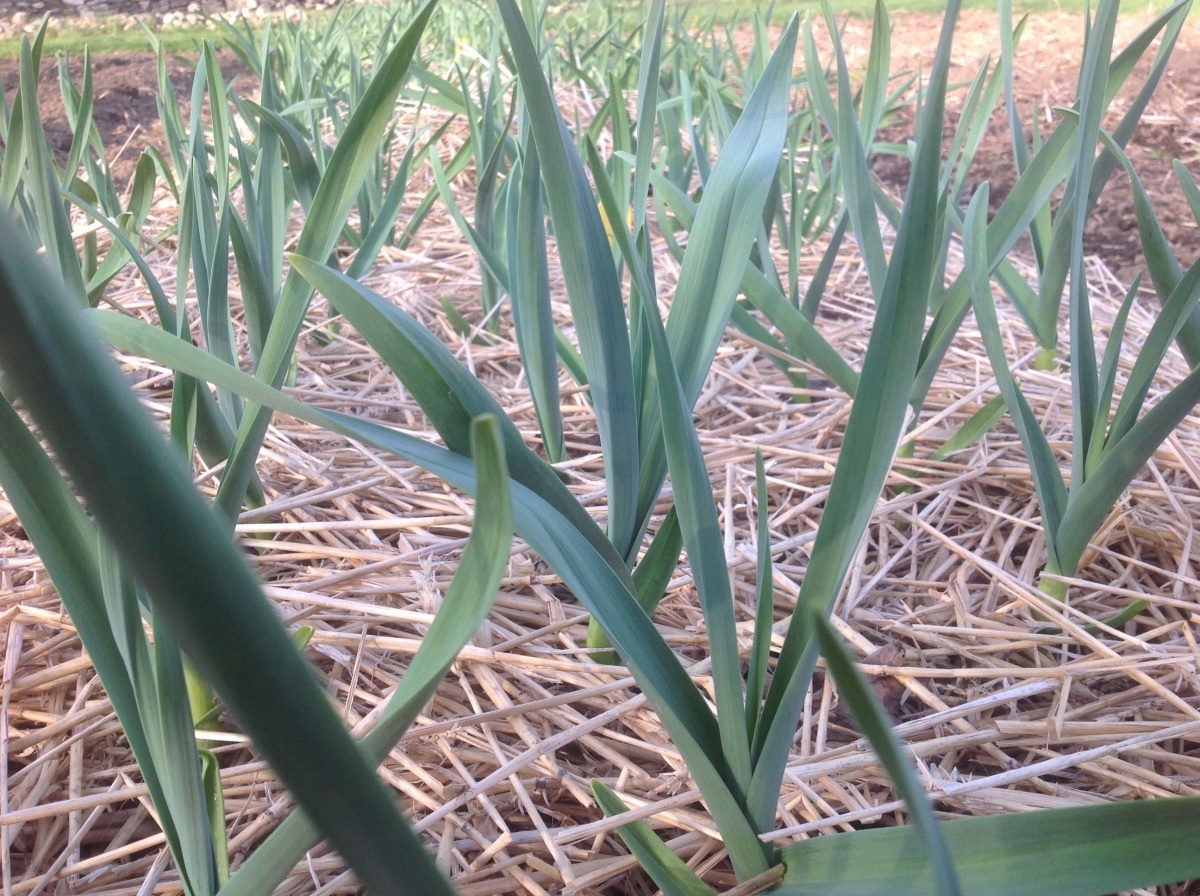 Garlic plants emerging through straw mulch in early spring (from: Growing Garlic in New Hampshire, https://extension.unh.edu/resource/growing-garlic-new-hampshire-fact-sheet).
My Utah State University Extension colleague, Ron Patterson, demonstrating how to plant and grow garlic. Additional Resources Growing Garlic in New Hampshire New Hampshire Extension extension.unh.edu/resource/growing-garlic-new-hampshire-fact-sheet Garlic in the Garden Utah State University Extension https://digitalcommons.usu.edu/cgi/viewcontent.cgi?referer=&httpsredir=1&article=1250&context=extension_curall |